
how-to-install-ceramic-floor-tile
Preparing Your Subfloor for Tile Installation
Proper preparation is essential for durable Tile Installation. Ensure your subfloor is completely clean, dry, and level before applying any mortar to guarantee your new floor stays secure for years to come.
Start by finding the center point of the room and snapping chalk lines. Dry lay your tiles outward from this center intersection to check how cuts will look along the perimeter walls.
Always mix your thinset mortar according to the manufacturer instructions. Let the mixture slake for a few minutes before remixing and applying it to the floor with the appropriate notched trowel.
Laying Your Ceramic Floor Tiles
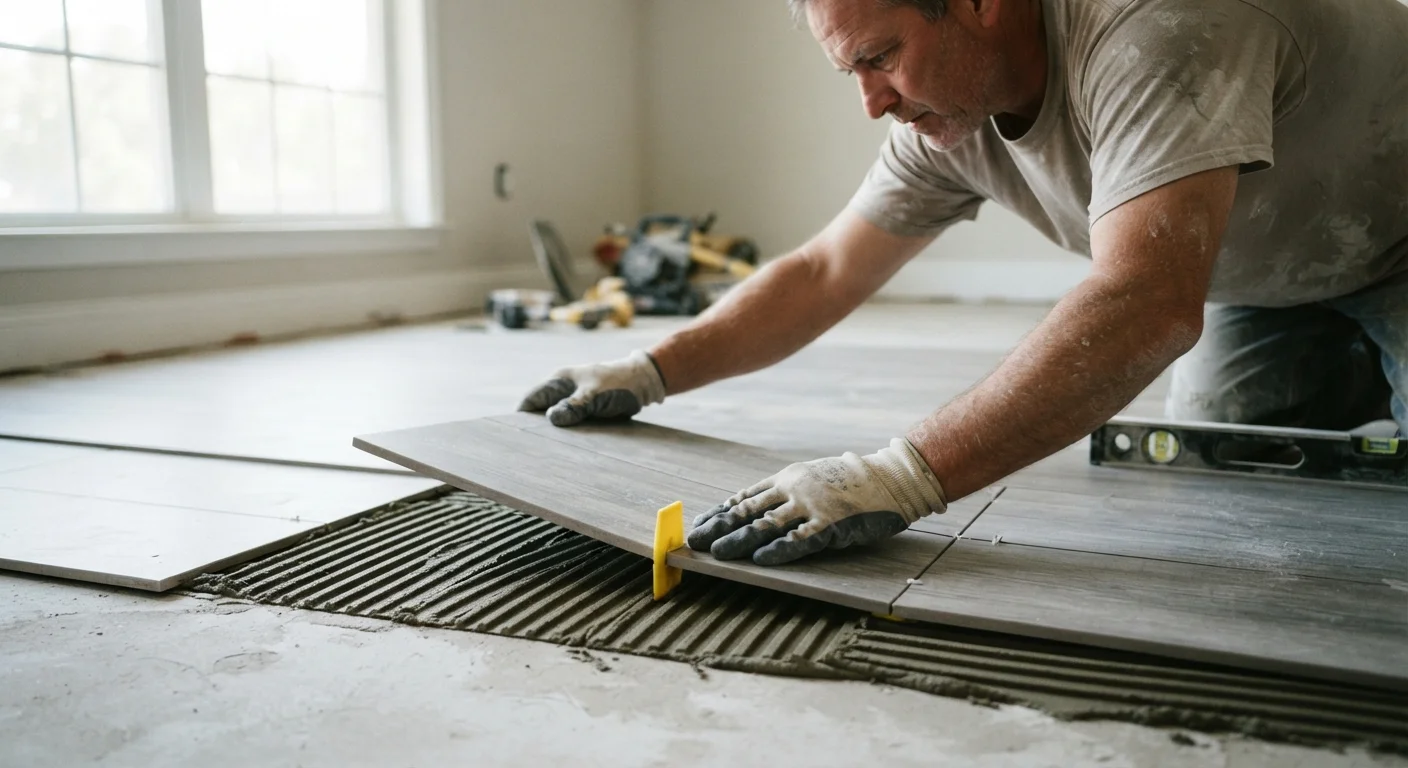
Press each tile firmly into the mortar with a slight twisting motion to ensure full coverage.
Insert tile spacers at the corners and intersections to maintain uniform grout lines throughout the entire working area.
Check your progress regularly with a level to make sure the surface remains even.
Cut edge tiles using a wet saw for clean lines and accurate fits near baseboards.
Allow the mortar to cure completely for at least twenty four hours before attempting to walk on the newly laid surface.
Remove all spacers and clean any excess mortar from the joints before grouting.
Apply grout diagonally across the joints using a rubber float to pack spaces completely.
Final Cleanup and Sealing
Wipe away excess grout haze with a damp sponge after it begins to set. Once fully cured, apply a quality sealer to protect your grout lines from stains.
Mastering How to Install Ceramic Floor Tile takes patience and care, resulting in a stunning surface that elevates your home interior.
The team did an incredible job updating our floors. Everything looks neat, professional, and was completed right on schedule.
Proper preparation and precise cuts are essential when planning a reliable tile installation project for your home.
Step by step surface layout
Begin by measuring the room carefully, dry laying your materials, and applying mortar evenly to ensure a durable and level surface finish.
View installation stepsWhen you want to upgrade your living spaces with durable and stylish materials, learning How to Install Ceramic Floor Tile can save you time and money. Proper surface preparation is the most critical step to ensure that your new floors remain secure and crack-free over the years. You must clean the subfloor thoroughly, remove any debris, and verify that the entire area is completely level before applying any adhesive. Taking these careful preliminary measures will lead to a professional finish that greatly enhances the visual appeal of your rooms.
Once the layout is planned and your centerlines are marked on the floor, you can begin mixing the thinset mortar according to the manufacturer instructions. Spread the mortar evenly using a notched trowel, making sure to work in manageable sections so the material does not dry out prematurely. Press each piece firmly into place with a slight twisting motion to achieve maximum bonding strength with the subfloor. Utilizing spacers between the pieces will maintain uniform grout lines, which is essential for achieving a neat and tidy appearance across the entire surface.
After the adhesive has cured completely, it is time to apply the grout and seal the joints to protect against moisture and stains. Professional Tile Installation requires patience during this final phase to wipe away excess haze without damaging the newly set surfaces. Whether you are tackling a bathroom upgrade or a kitchen makeover, mastering these techniques ensures long-lasting results for your home. For homeowners who prefer expert assistance with their projects, our team is always ready to deliver exceptional craftsmanship.